Tiếng Việt


1. Ceiling Cassette AC Installation & Removal Service by Sai Gon Home Repair 247
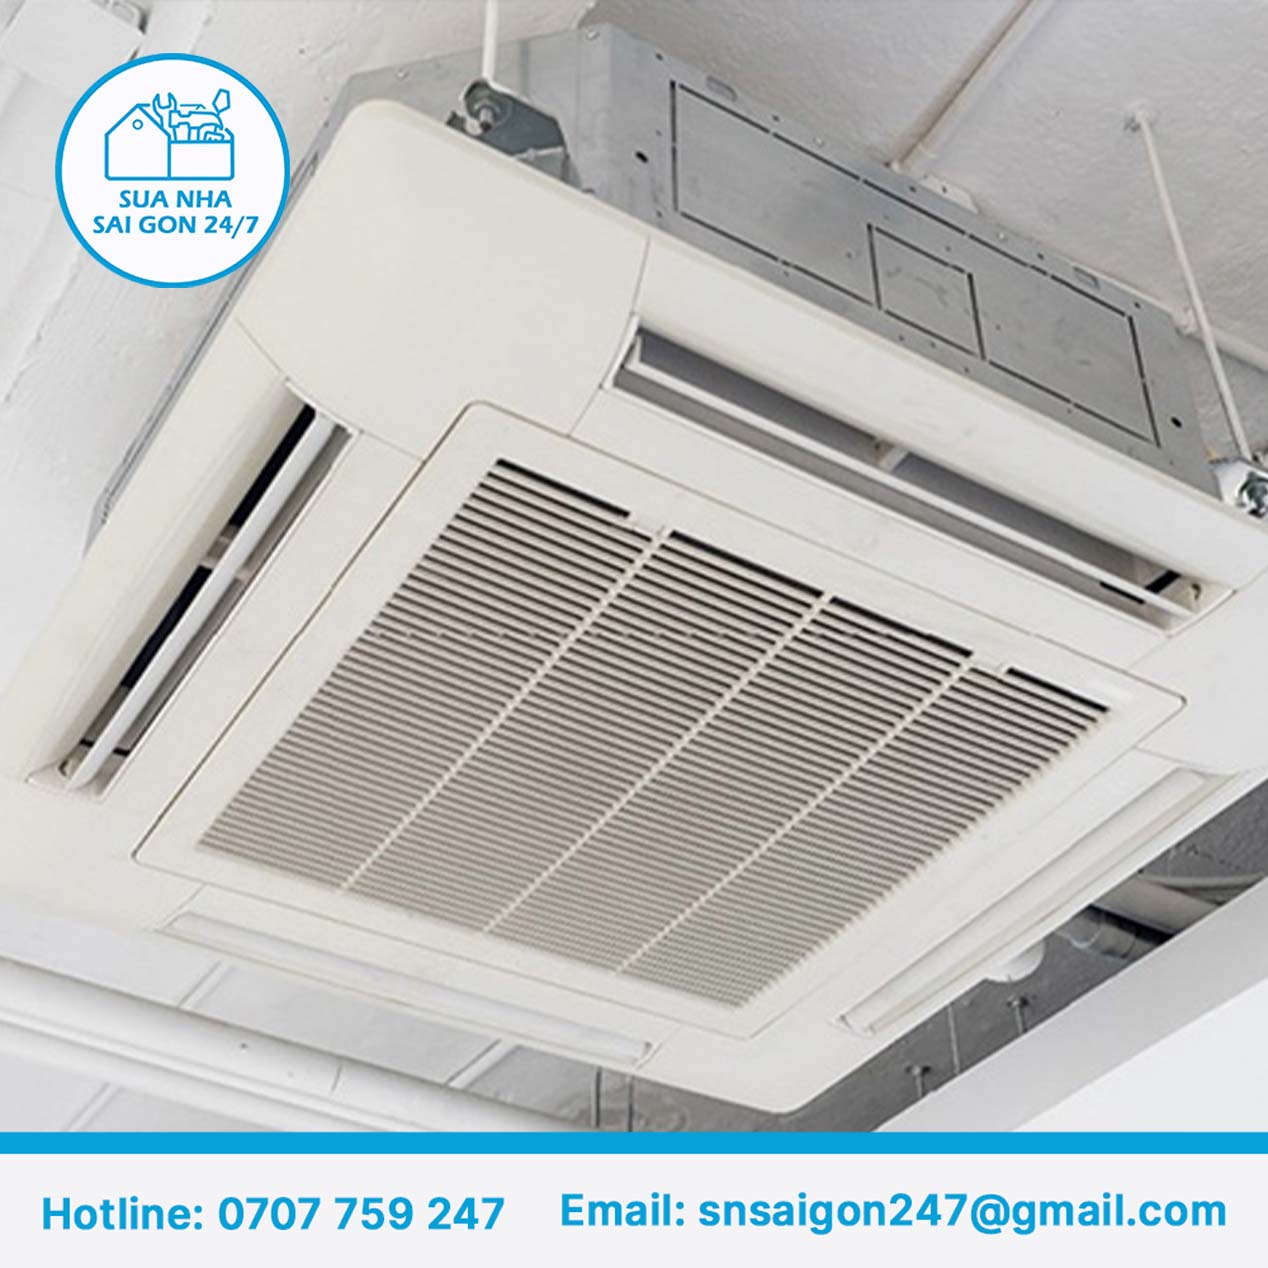
A ceiling cassette AC is a premium type of air conditioner built into the ceiling, with only the air vent visible — giving a clean, high-end look and even cooling across the space. It’s a popular choice for hotels, villas, offices, and shopping centers.

However, installing or removing a ceiling cassette AC requires much more advanced technique than a wall-mounted unit, since it involves the copper piping system, indoor and outdoor units, condensate drain line, and power supply all at once. Done incorrectly, this can lead to gas leaks, damaged copper pipes, a failed compressor, or water leakage.
With a professional ceiling cassette AC installation and removal service in Ho Chi Minh City, Sai Gon Home Repair 247 is committed to safe, fast, and technically sound work.
2. Pros and Cons of Ceiling Cassette AC, and Where It Works Best
2.1. Advantages of a Ceiling Cassette AC
- High aesthetic value: Built into the ceiling with only the vent visible, giving a sleek, modern look.
- Even cooling: Airflow in four directions covers the whole space quickly.
- Saves wall space: Doesn’t take up wall space, ideal for rooms with a lot of glass or limited installation space.
- Wide capacity range: From 1.5 HP to over 10 HP, suited to needs from households to large buildings.
- Low noise: Runs quietly, suited to spaces that need a quiet environment.
2.2. Drawbacks of a Ceiling Cassette AC
- Higher upfront cost: Unit price, installation cost, and materials cost more than a wall-mounted AC.
- Complex installation: Ideally installed during design or ceiling renovation — difficult to fit into an already-finished space.
- Harder to maintain: Its ceiling position makes cleaning, removal, and repair more time-consuming.
- Higher power consumption: Due to its higher capacity, it typically uses more electricity than a standard wall-mounted unit.
2.3. Where Should a Ceiling Cassette AC Be Installed?
- Hotels, restaurants, conference centers: Where a high-end look and cooling for large spaces are needed.
- Villas, premium apartments: Adds a modern, upscale look while saving space.
- Offices, corporate buildings: Ensures even cooling for a comfortable work environment.
- Showrooms, shopping centers: Effective cooling for busy, large-area spaces.
A ceiling cassette AC is a great fit for upscale, spacious environments with high aesthetic requirements, but it needs to be installed and maintained by a professional technician to ensure long-term performance.
3. Why Choose Sai Gon Home Repair 247?
- Professional technical team: Experienced with ceiling cassette models from Daikin, Mitsubishi, LG, Panasonic, Toshiba, and more.
- Specialized equipment: Vacuum pump, gas pressure gauge, copper pipe insulation tools, and proper safety gear.
- Correct technique: No gas leaks, no water leaks, and stable operation after installation.
- Flexible scheduling: On-site within 30–60 minutes, with extended service hours.
- Fair, transparent pricing: Quoted before work begins, with no cost added beyond what’s agreed.
- Service warranty: A 1–6 month warranty after installation/removal.

4. Ceiling Cassette AC Installation & Removal Process
4.1. Removal Process
- Cut the power supply to ensure safety.
- Recover the gas back into the compressor using a pressure gauge.
- Remove the indoor ceiling unit, the panel, and the condensate drain line.
- Remove the outdoor unit, copper piping, and related accessories.
- Carefully wrap all components and transport them to the new location.
4.2. Installation Process
- Survey the new installation location and recommend the best placement.
- Install the indoor unit into the ceiling, ensuring a clean look and a secure fit.
- Install the outdoor unit in a well-ventilated spot for good heat dissipation.
- Connect the copper piping, wiring, and condensate drain line.
- Vacuum the system and add gas if needed.
- Start up and test the unit, confirming quiet operation and deep cooling.
5. Notes for Using the AC After Installation/Removal
- Don’t turn on the unit immediately after installation — wait 30 minutes to 1 hour for the system to stabilize.
- Set an appropriate temperature (25–27°C) to protect the compressor and save on electricity.
- Clean the dust filter regularly to maintain performance.
- Check the drain line after installation/removal to prevent leaks.
- Schedule maintenance every 6 months to extend the equipment’s lifespan.
7. Frequently Asked Questions (FAQ)
1. Does installing or removing a ceiling cassette AC cause gas loss?
→ If the technician follows the correct procedure (recovering the gas before removal), there will be no gas loss.
2. How soon can I use the AC after installation?
→ You can use it right after the technician completes the operational test, usually within 30–60 minutes.
3. Is the installation/removal service covered by a warranty?
→ Yes. Sai Gon Home Repair 247 offers a 1–6 month warranty on installation/removal work.
8. Service Area — Sai Gon Home Repair 247
8.1. Service Coverage Across Ho Chi Minh City
Sai Gon Home Repair 247’s ceiling cassette AC installation and removal service covers all of Ho Chi Minh City: District 1, 3, 4, 5, 6, 7, 8, 10, 11, 12, Binh Thanh, Go Vap, Tan Binh, Tan Phu, Phu Nhuan, Binh Tan, Thu Duc City (former District 2, 9, and Thu Duc), as well as Nha Be, Hoc Mon, Binh Chanh, Cu Chi, and Can Gio districts.
8.2. Contact Information — Sai Gon Home Repair 247
Sai Gon Home Repair 247 — your trusted partner for home repair.
- Hotline: 0707 759 247
- English support: +84 33 939 0325
- English & Korean support: +84 76 806 7114
- Website: https://suanhasaigon247.vn/
- Email: snsaigon247@gmail.com
- Office Address: No. 150, Tran Nao Street, Ward 2, An Khanh Ward, Ho Chi Minh City
- Working hours: Mon–Sat, 08:00–17:30